Podbag Training · Keep files across containers
by The podbag team · 
 @SteelCrabon in TrainingPermalink
A volume stores files that can survive container removal. Watch the animation and then try the same sequence with app-a and app-b.
Time 15 minutes
Beginner course
Run your first container → Open a web server in the browser → Keep files across containers → Replace and clean up a web service
Install the module
Download volume-persistence.podbag. In Desktop, select Install module at the top of Training. Choose the downloaded file and confirm.
podbag lab install volume-persistence.podbag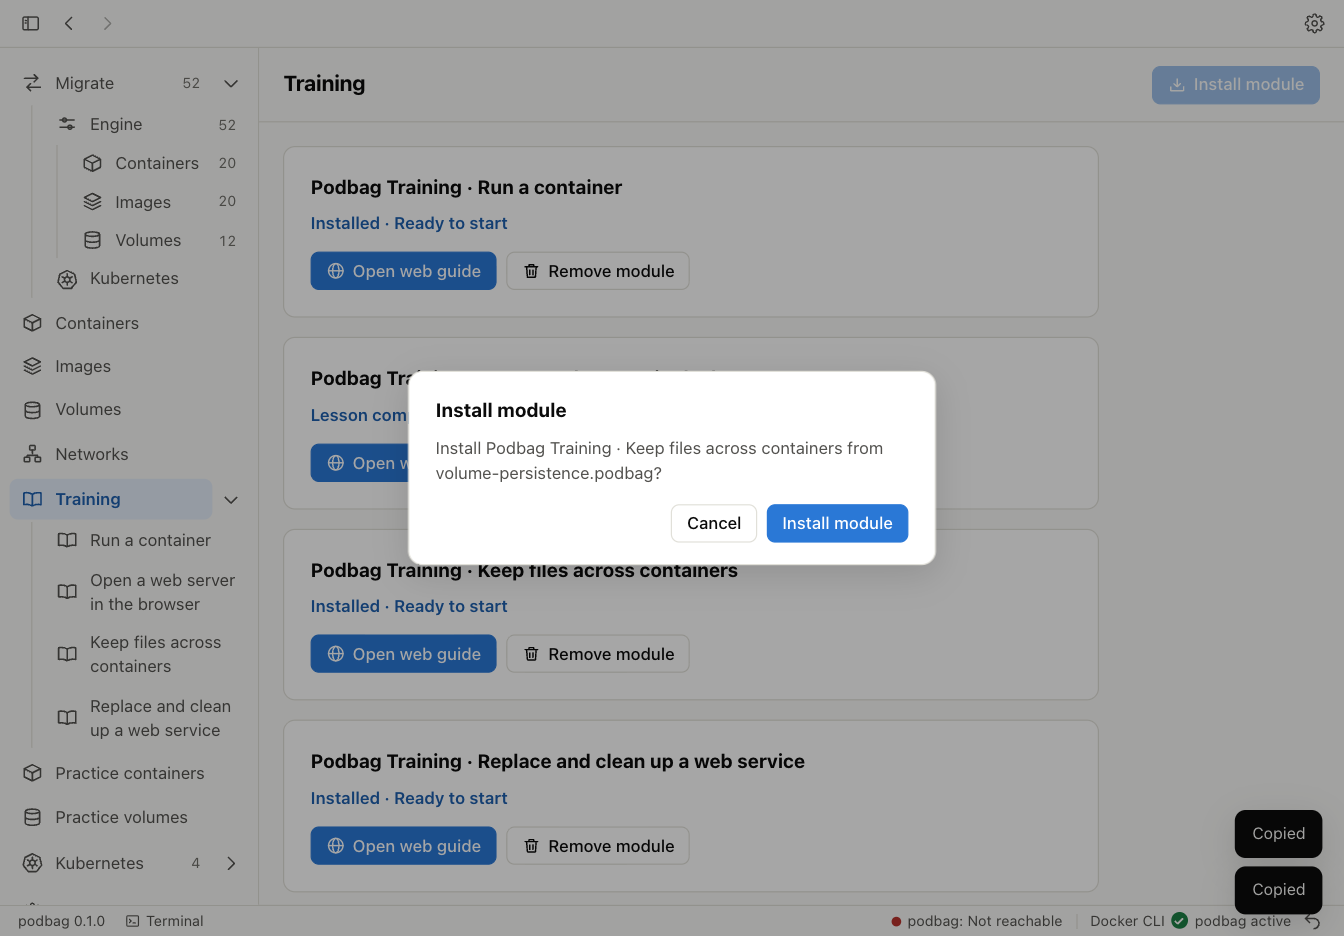
Start the practice session
Expand Training in the sidebar and select the module. Copy the start command into your terminal. Continue when it shows the training $ prompt.
podbag lab start volume-persistence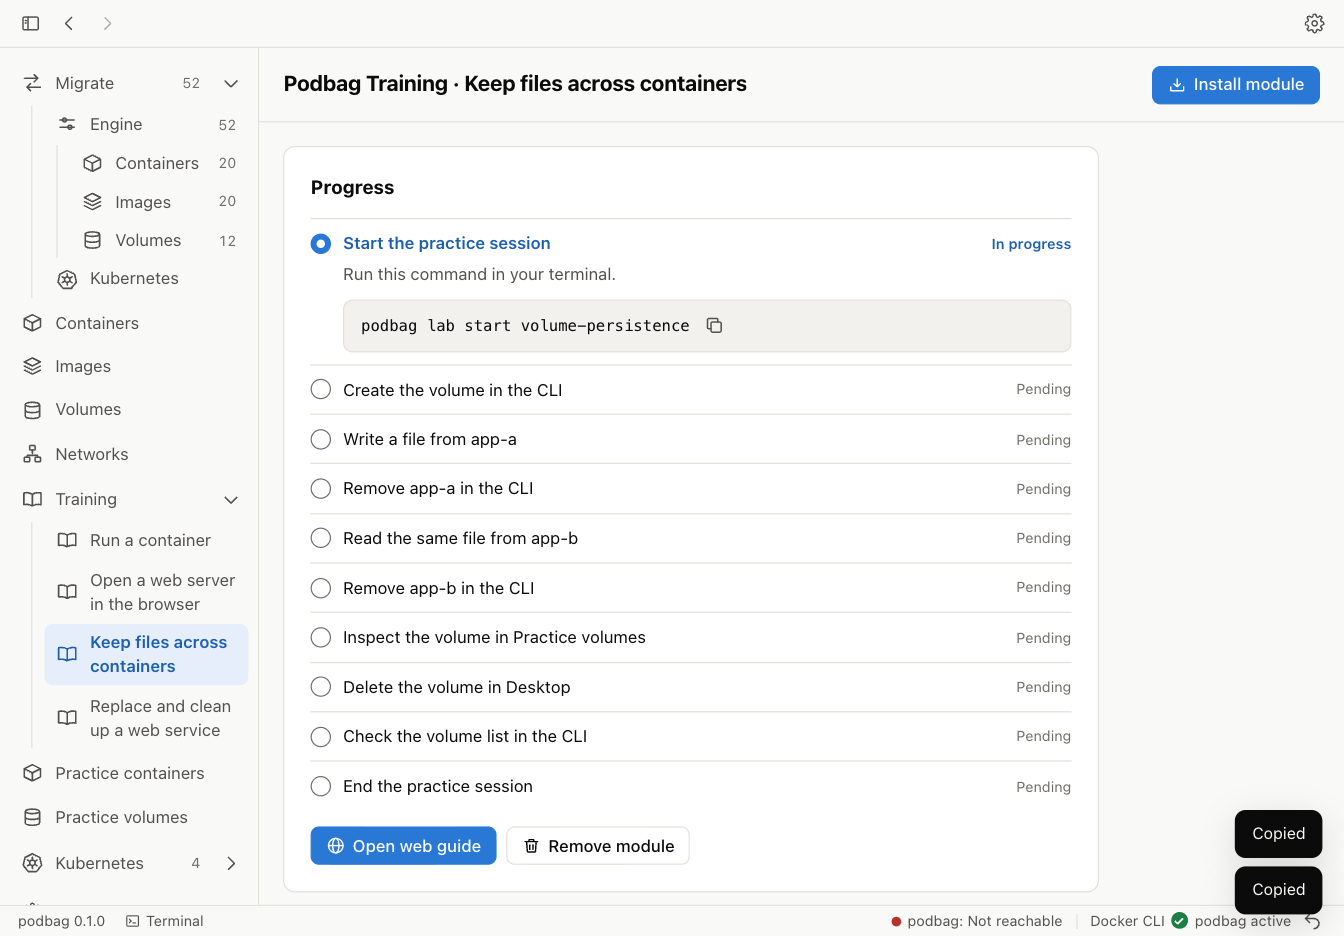
Create the volume
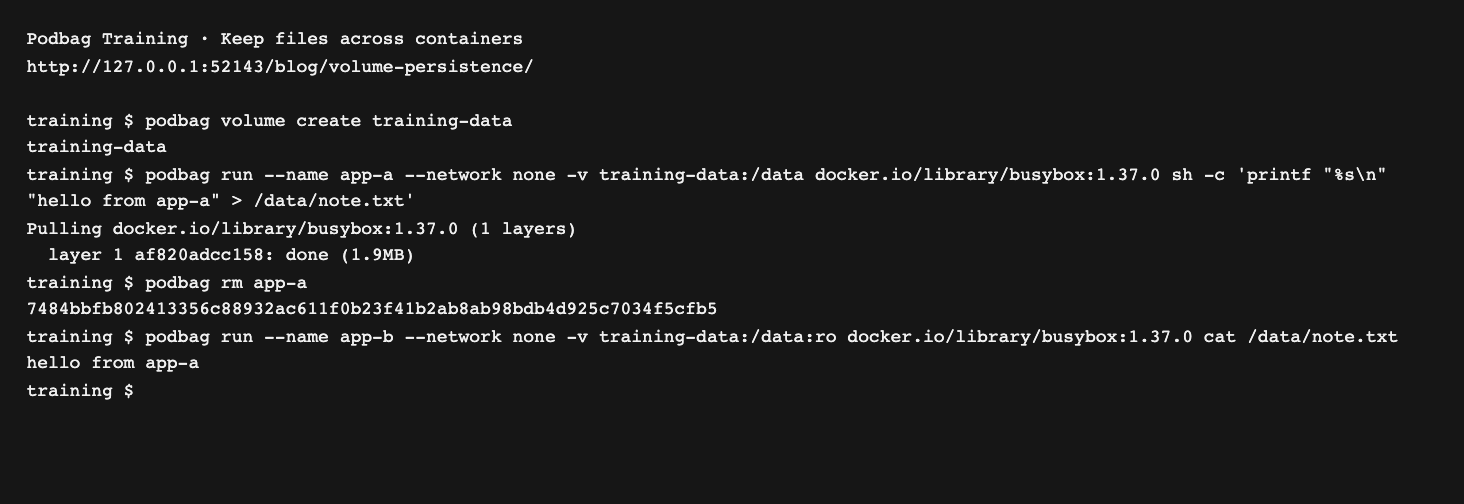
Create the named volume training-data in the practice session.
podbag volume create training-data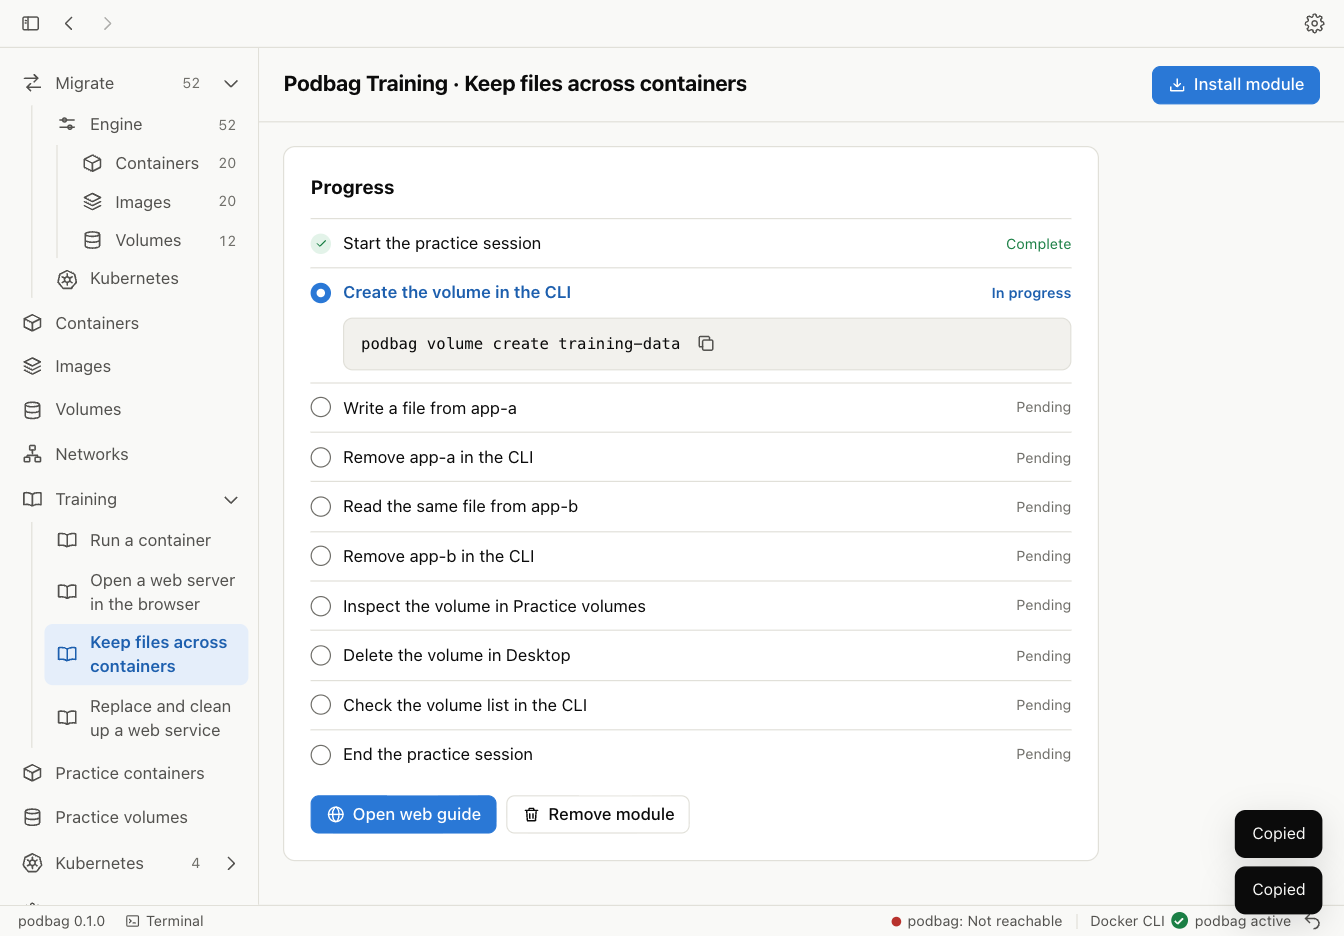
Write a file from app-a
-v training-data:/data connects the volume to the container. The command writes note.txt and app-a exits.
podbag run --name app-a --network none -v training-data:/data docker.io/library/busybox:1.37.0 sh -c 'printf "%s\n" "hello from app-a" > /data/note.txt'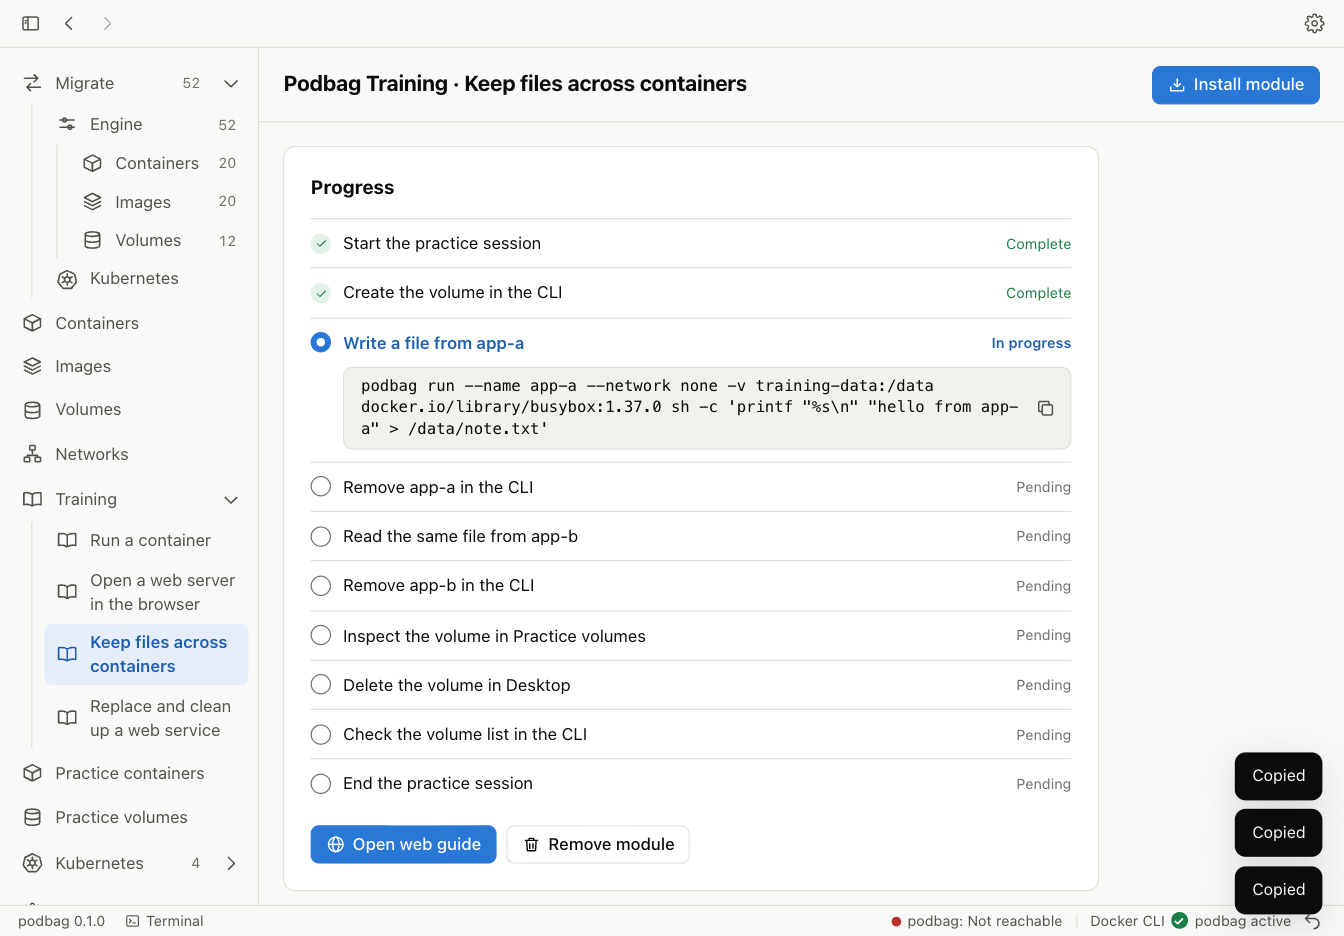
Remove app-a
Remove the stopped container. The volume stays in the practice session.
podbag rm app-a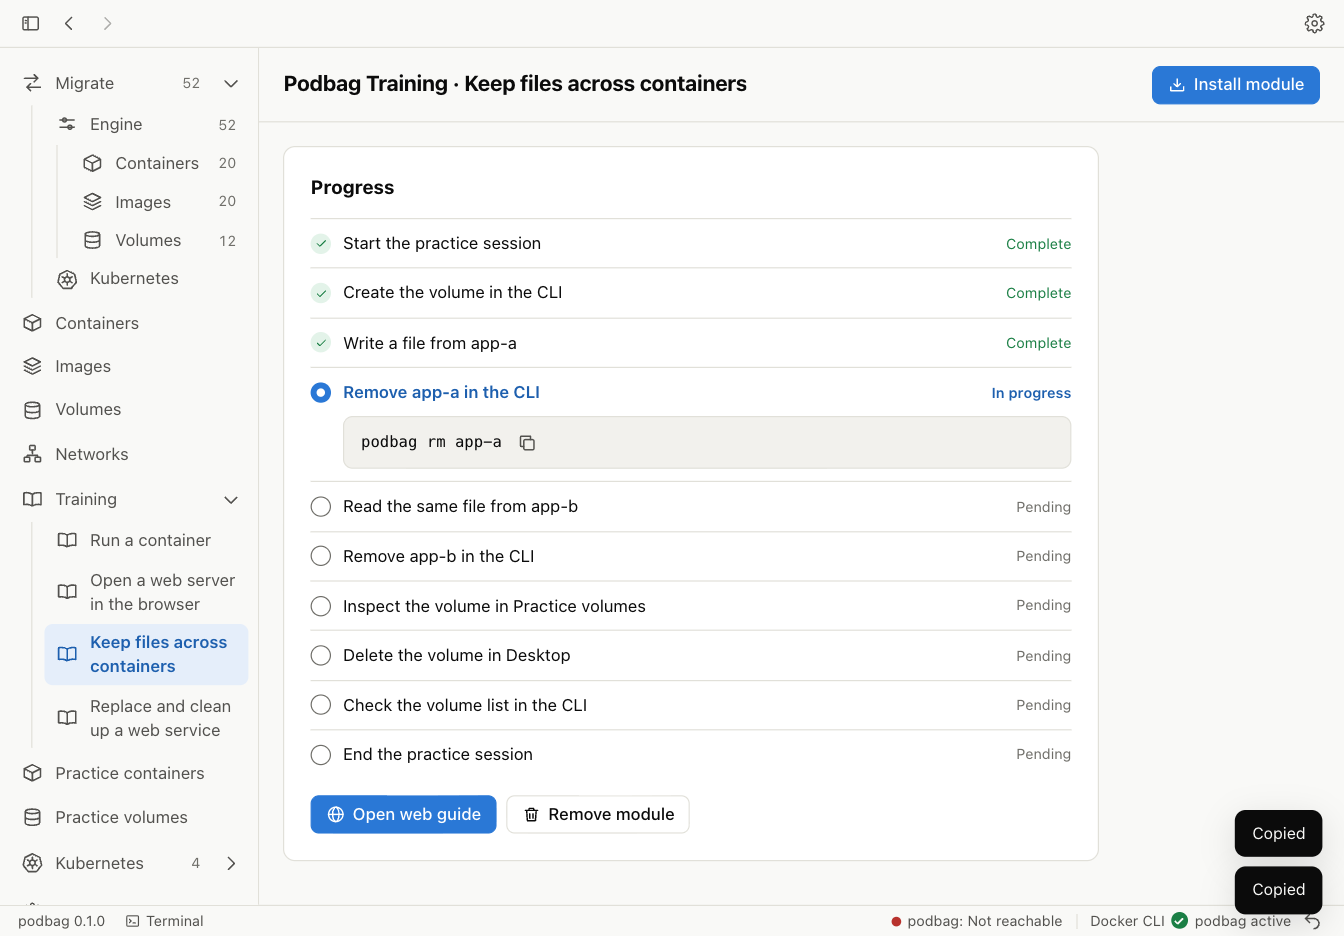
Read the file from app-b
app-b mounts the same volume. The :ro suffix makes it read-only. The terminal displays hello from app-a.
podbag run --name app-b --network none -v training-data:/data:ro docker.io/library/busybox:1.37.0 cat /data/note.txt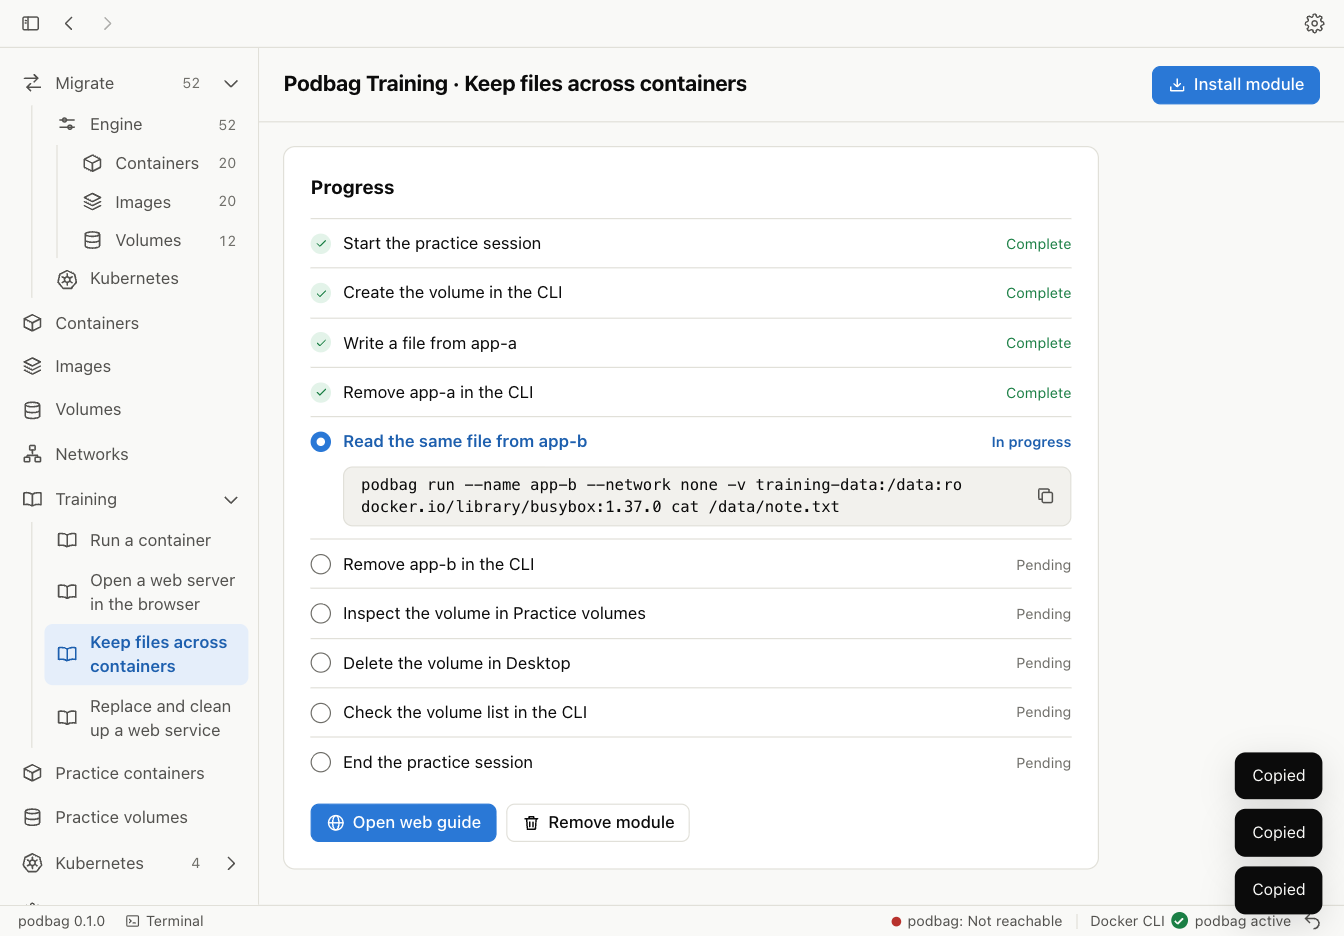
Remove app-b
Remove the second container to release the volume before you delete it.
podbag rm app-b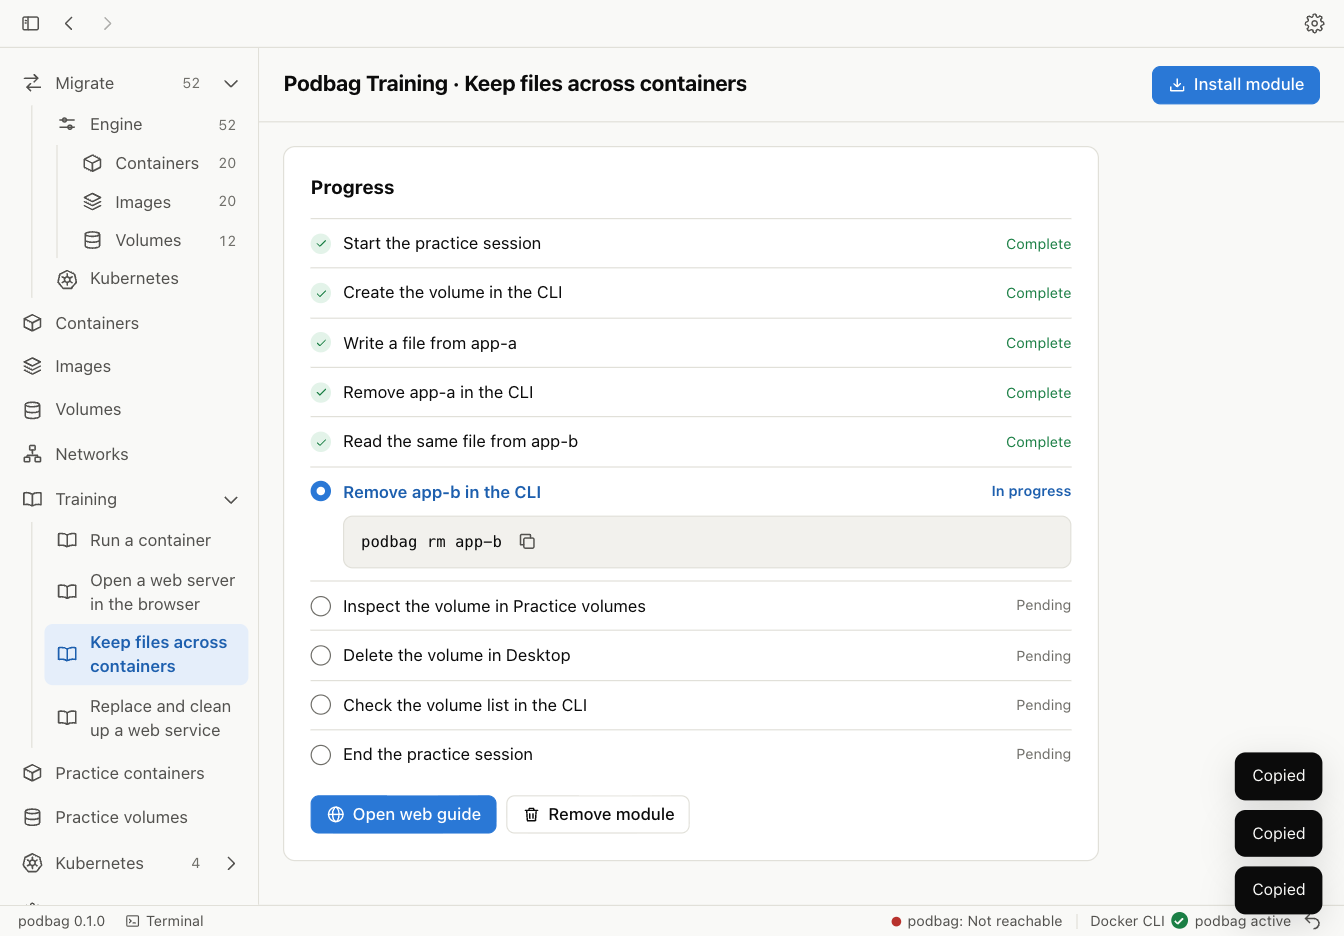
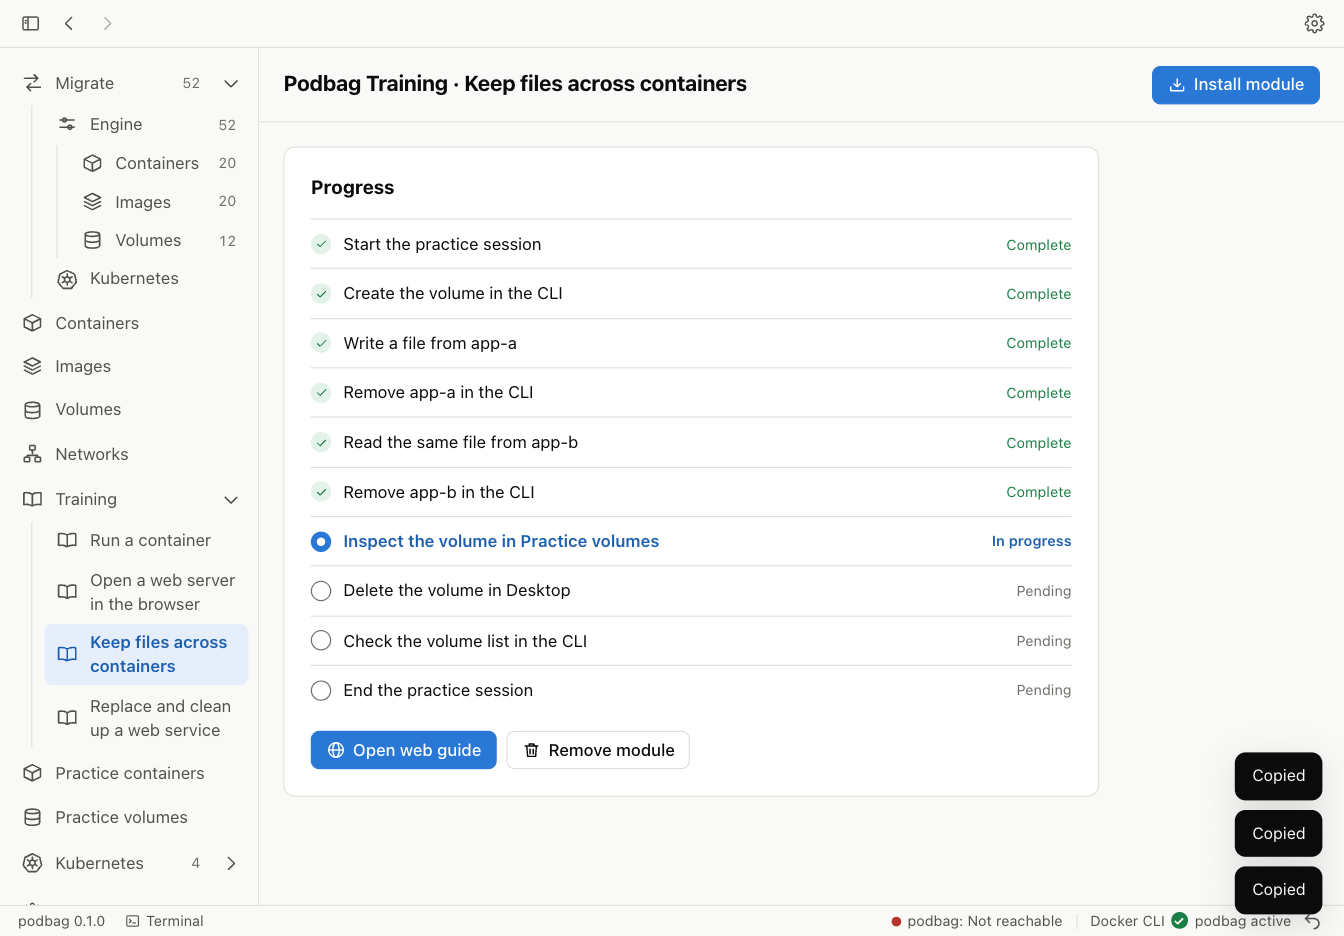
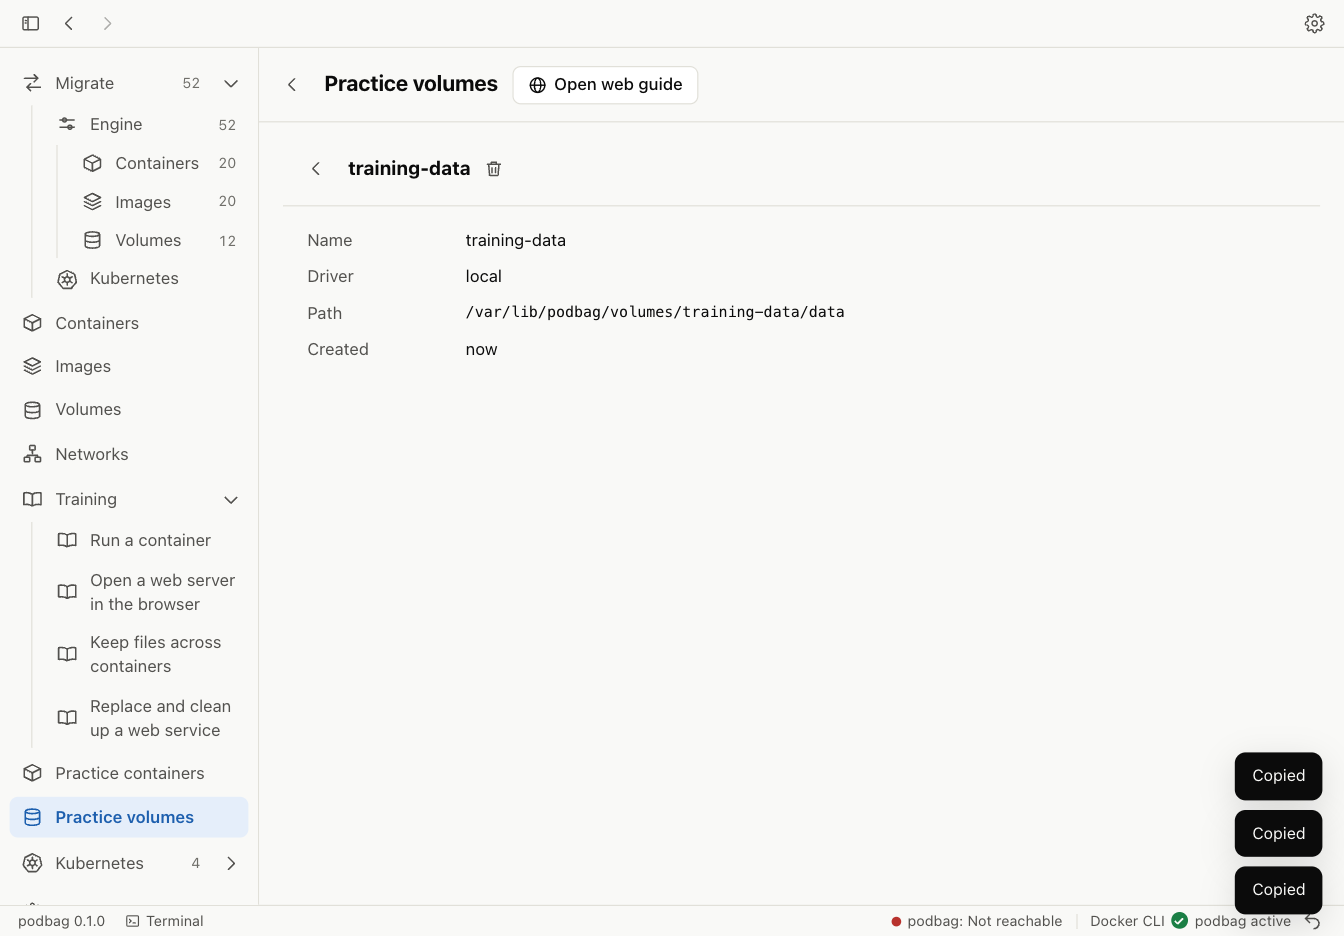
Open the volume details
Select Practice volumes → training-data. The details show its name and mount point.
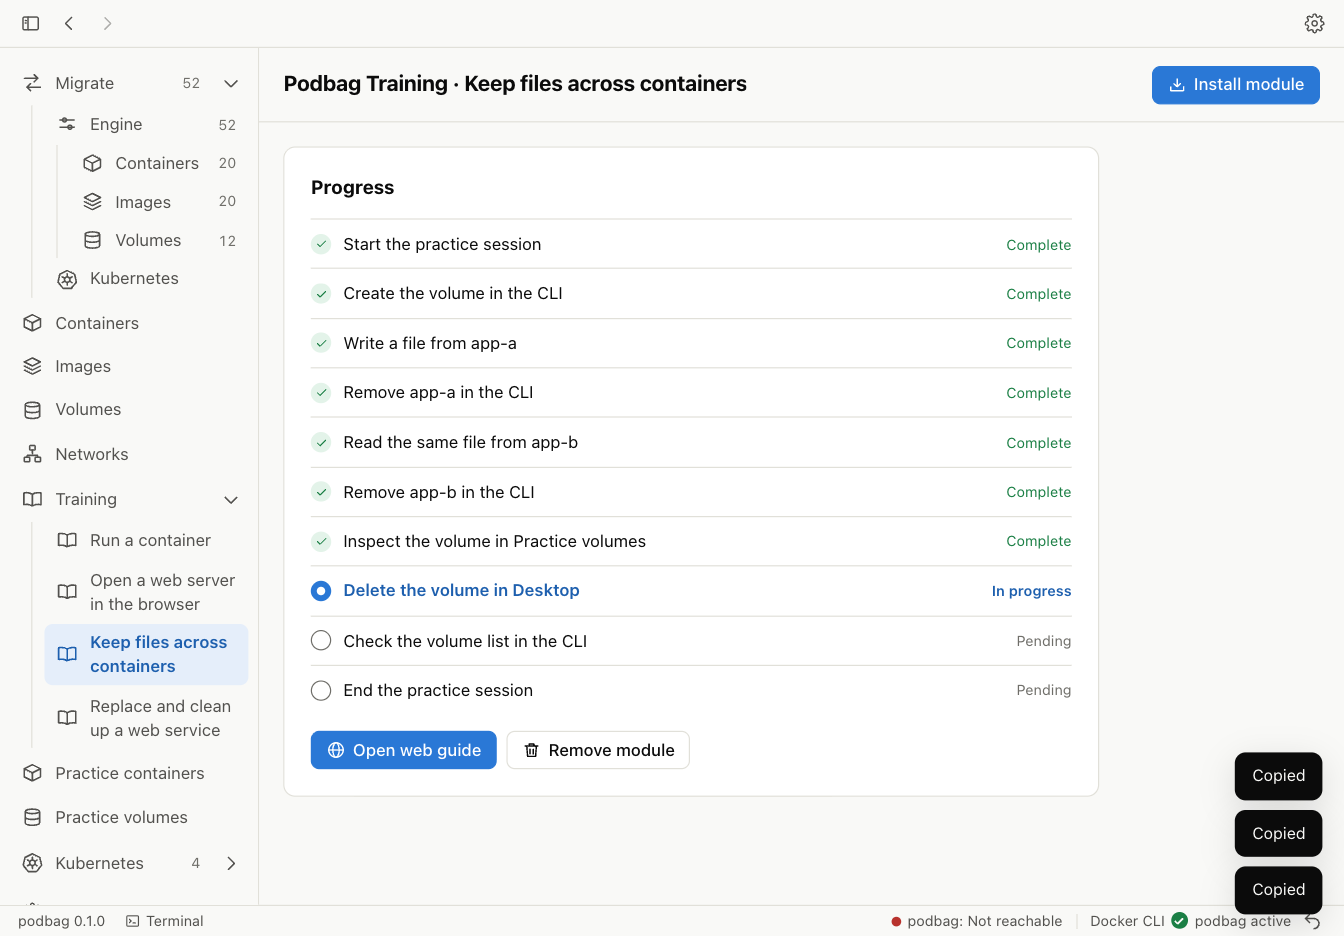
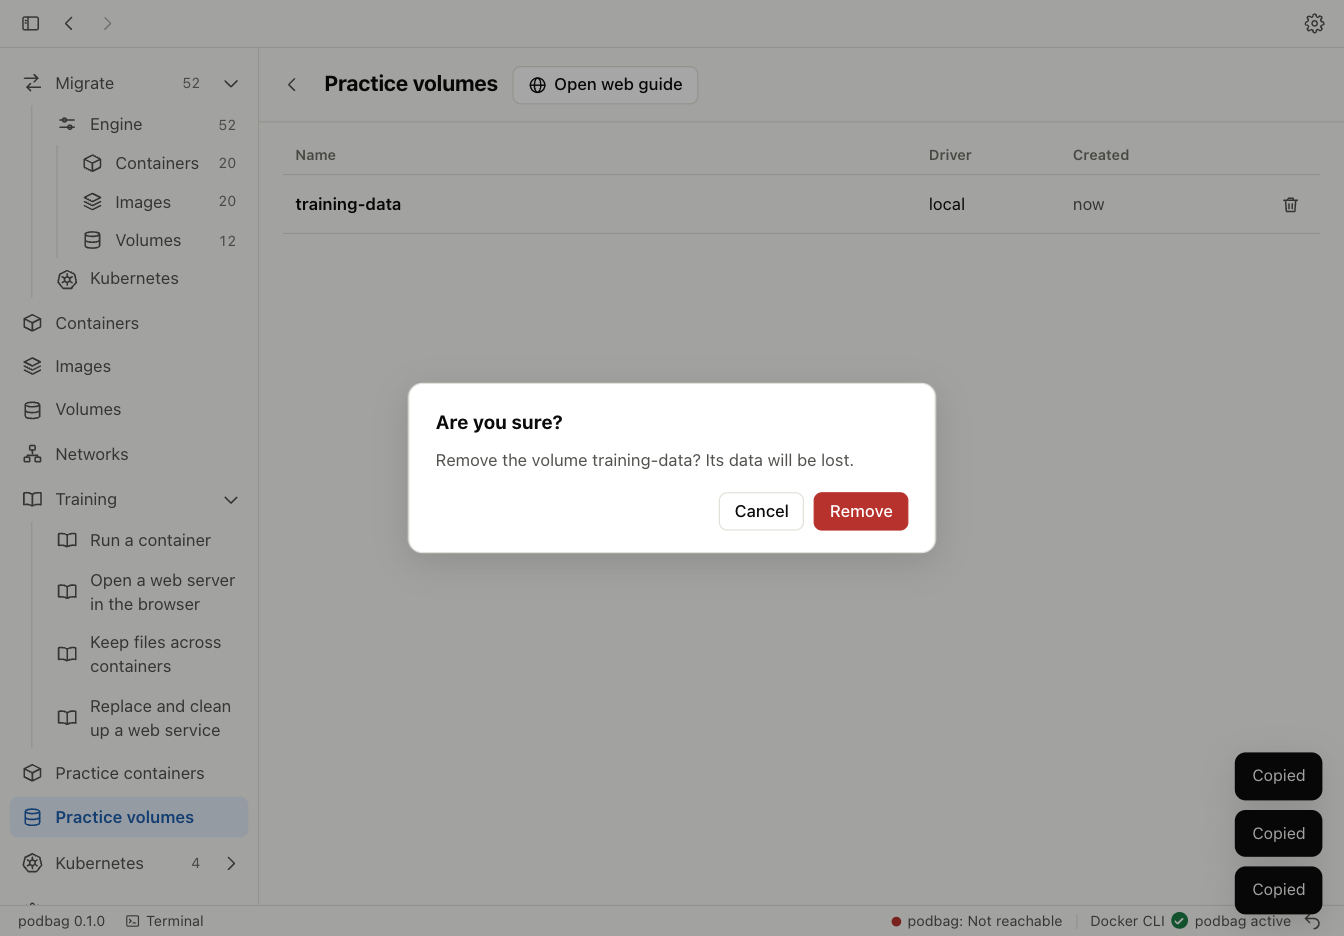
Delete the volume in Desktop
Select Remove and confirm that the dialog names training-data. The volume and its file are deleted.
Check the volume list
Return to the same terminal. The volume list no longer contains training-data.
podbag volume ls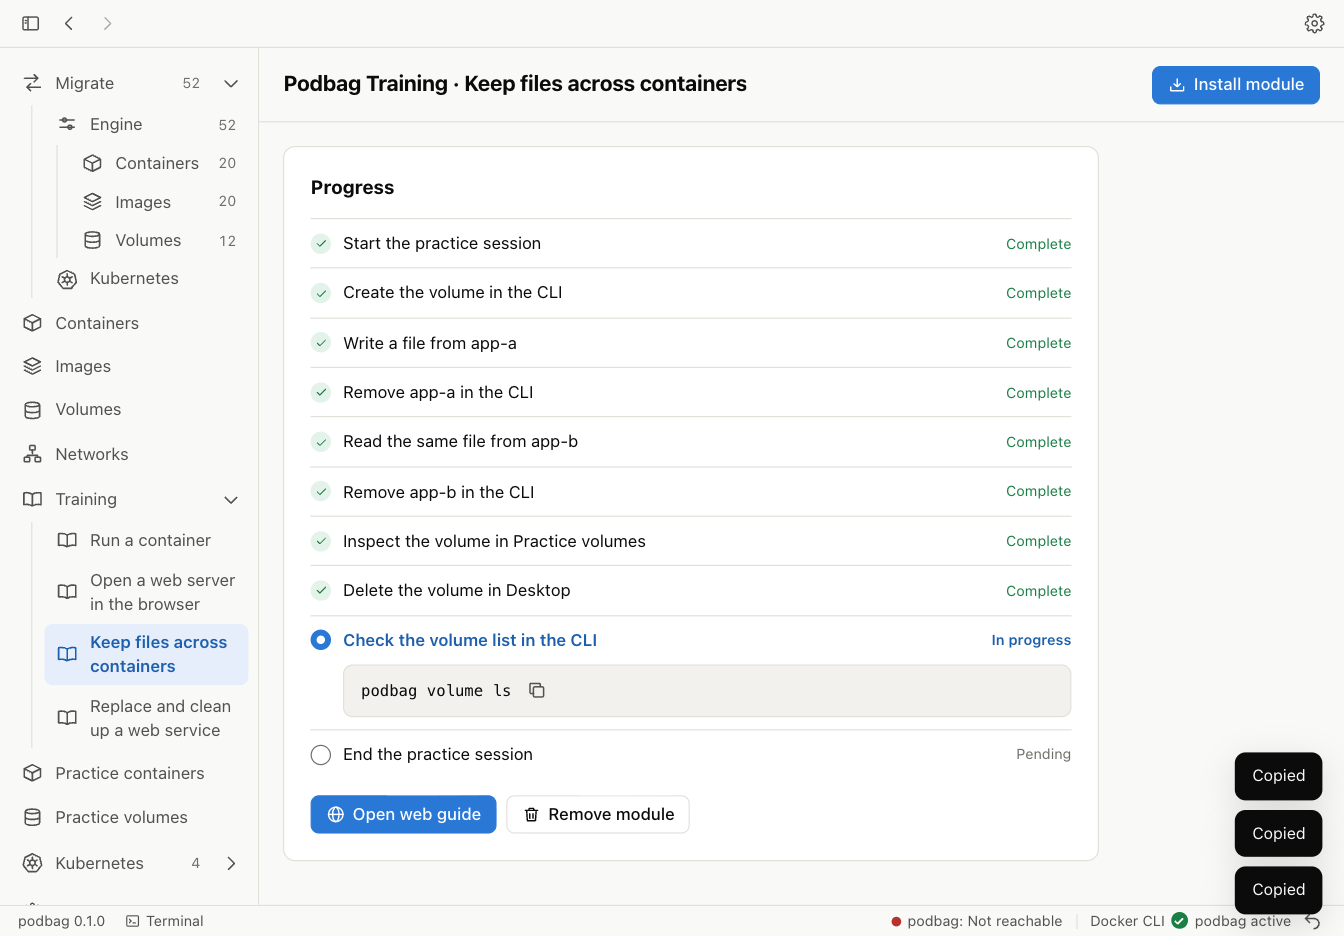
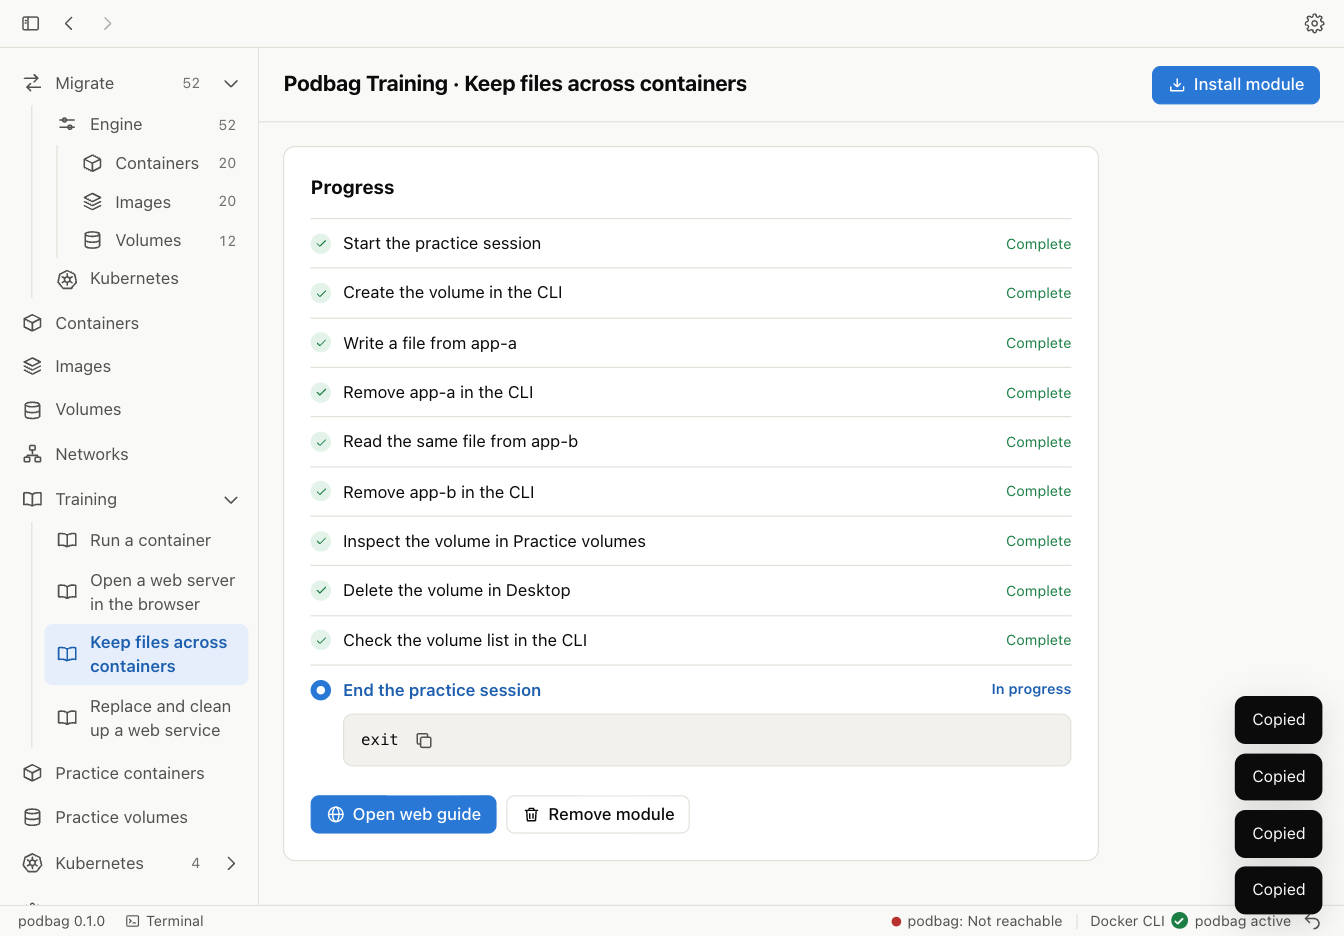
Finish the practice session
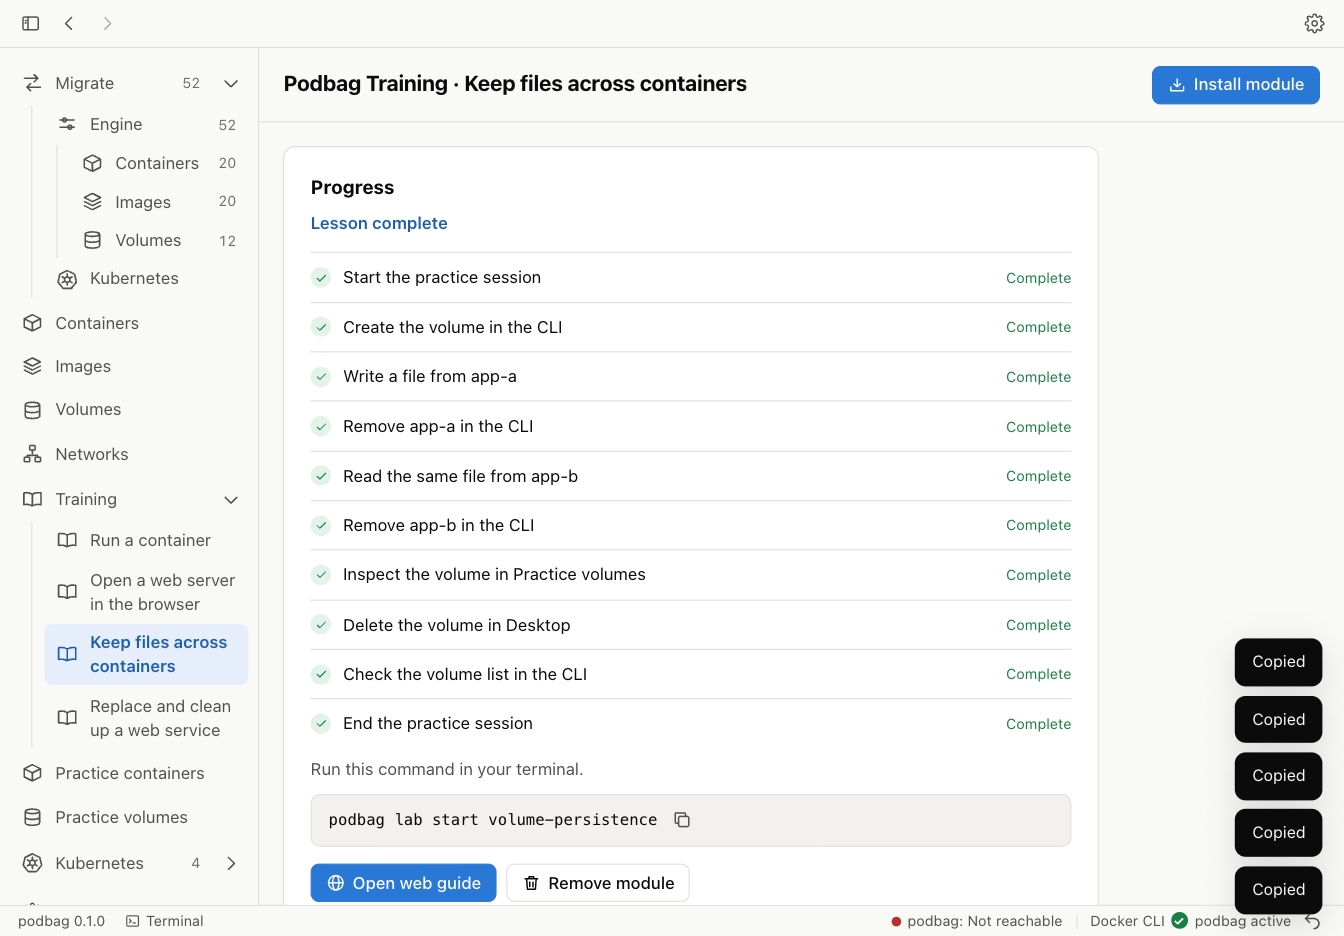
Run the command shown in the final step. Training records completion after the practice environment has been removed.
exit