Lab · Serve JSON from a Podbag volume
by The podbag team · 
 @SteelCrabon in TrainingPermalink
Use a build of Podbag Desktop with Tutorials in the sidebar. The lab uses a temporary store on your computer. You can run it without a container engine connection or an image download.
Save volume-api.podbag somewhere you can find it from the app.
Open Tutorials
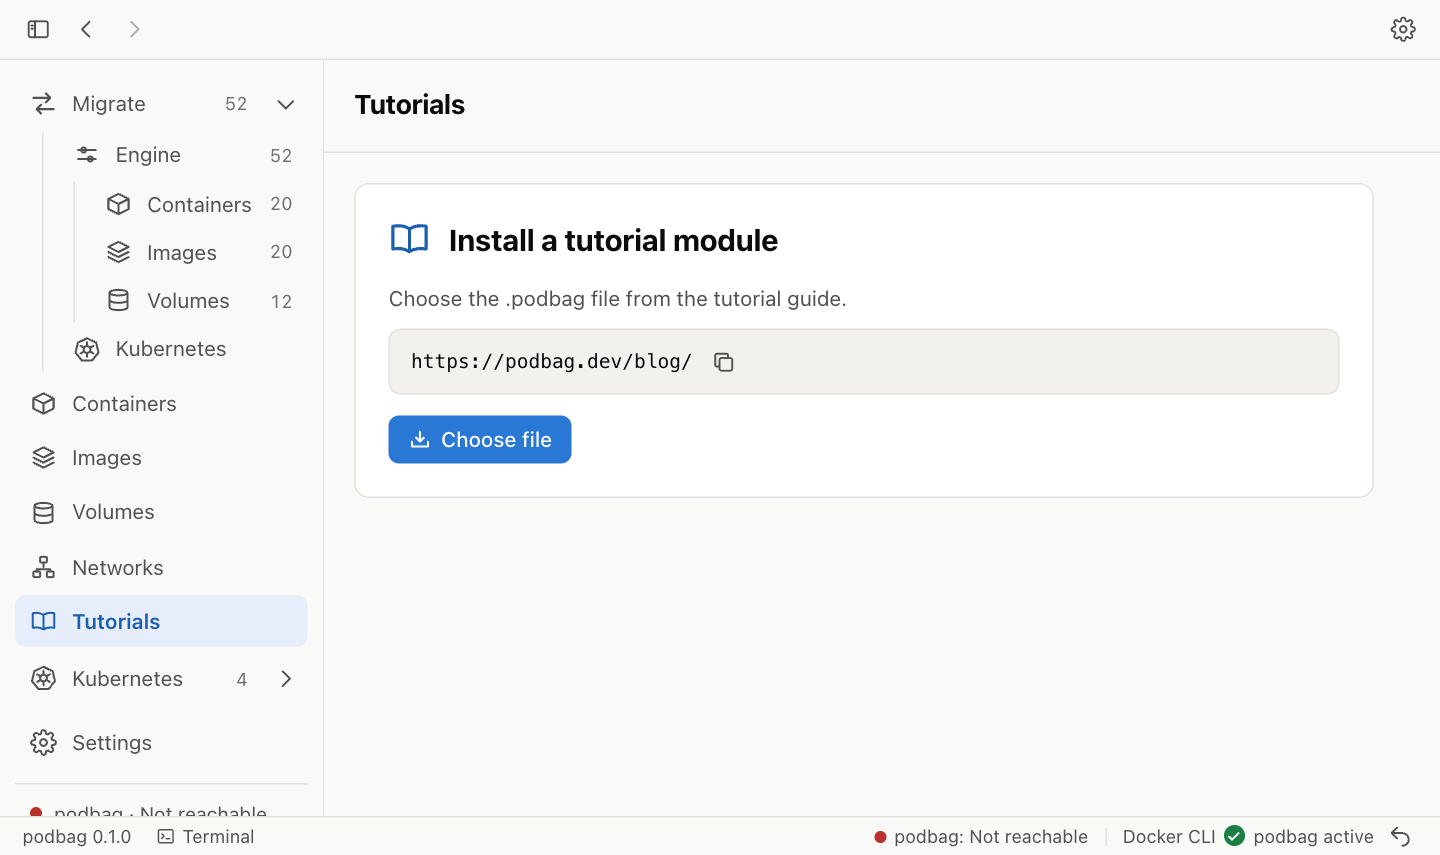
Select Tutorials in the left sidebar. The first visit opens the module installer.
Choose the module
Click Choose file and open volume-api.podbag from your downloads. Check the lab title and file name before installing.
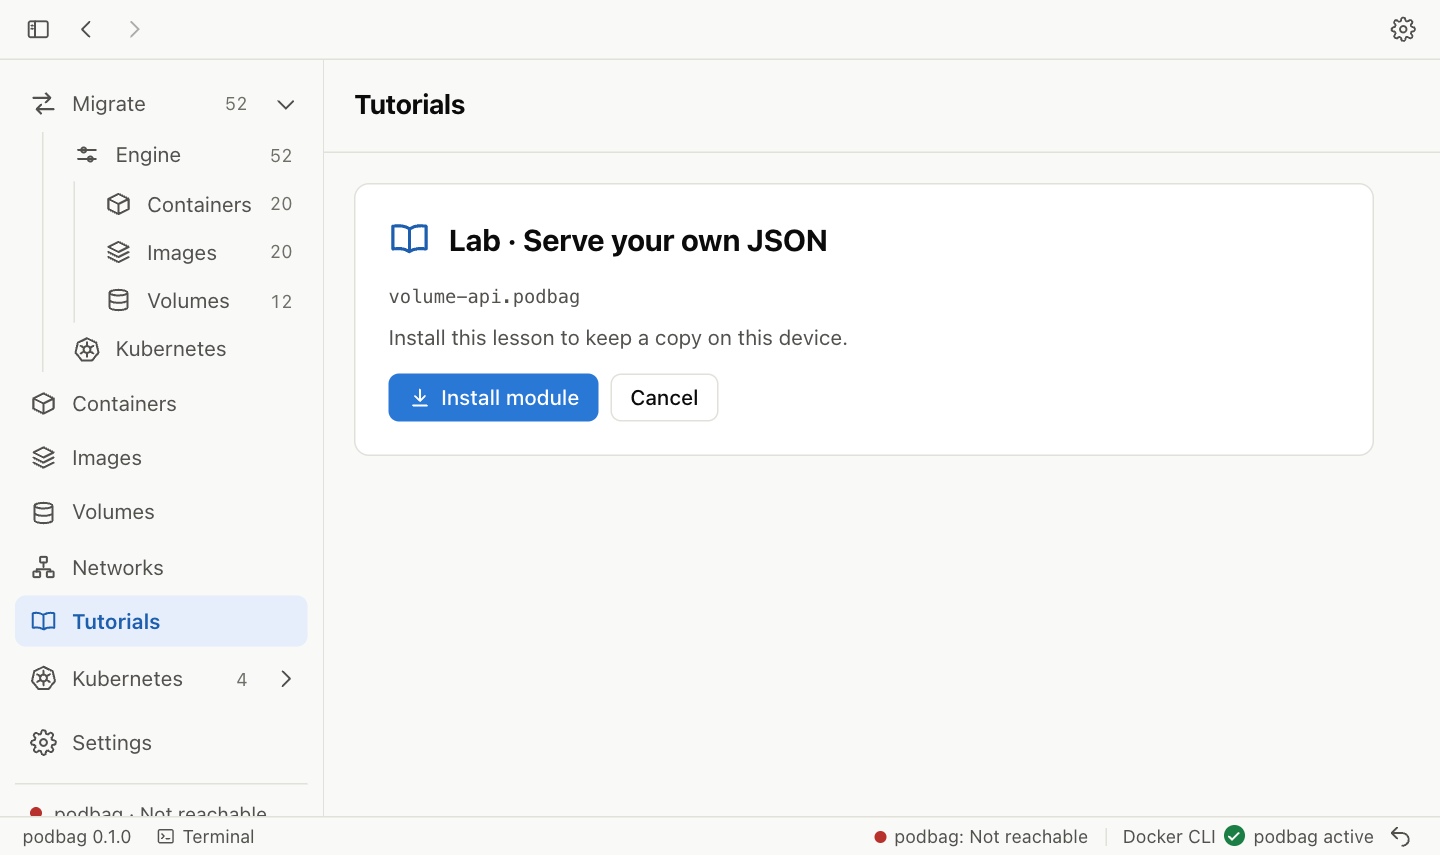
Install and start the lab
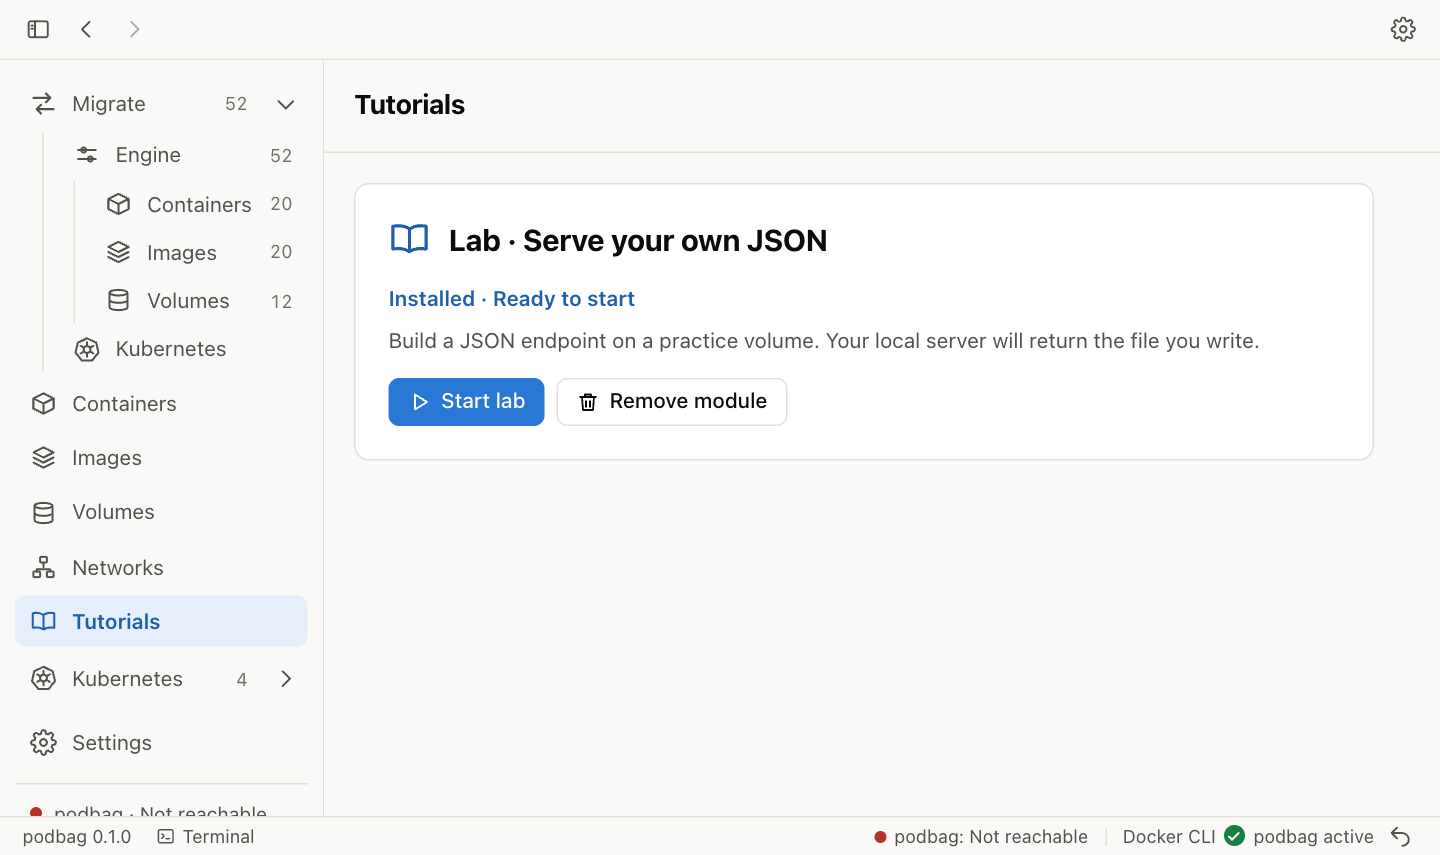
Click Install module. When the module shows Installed · Ready to start, click Start lab. The app creates an empty workspace for this session.
Create a volume
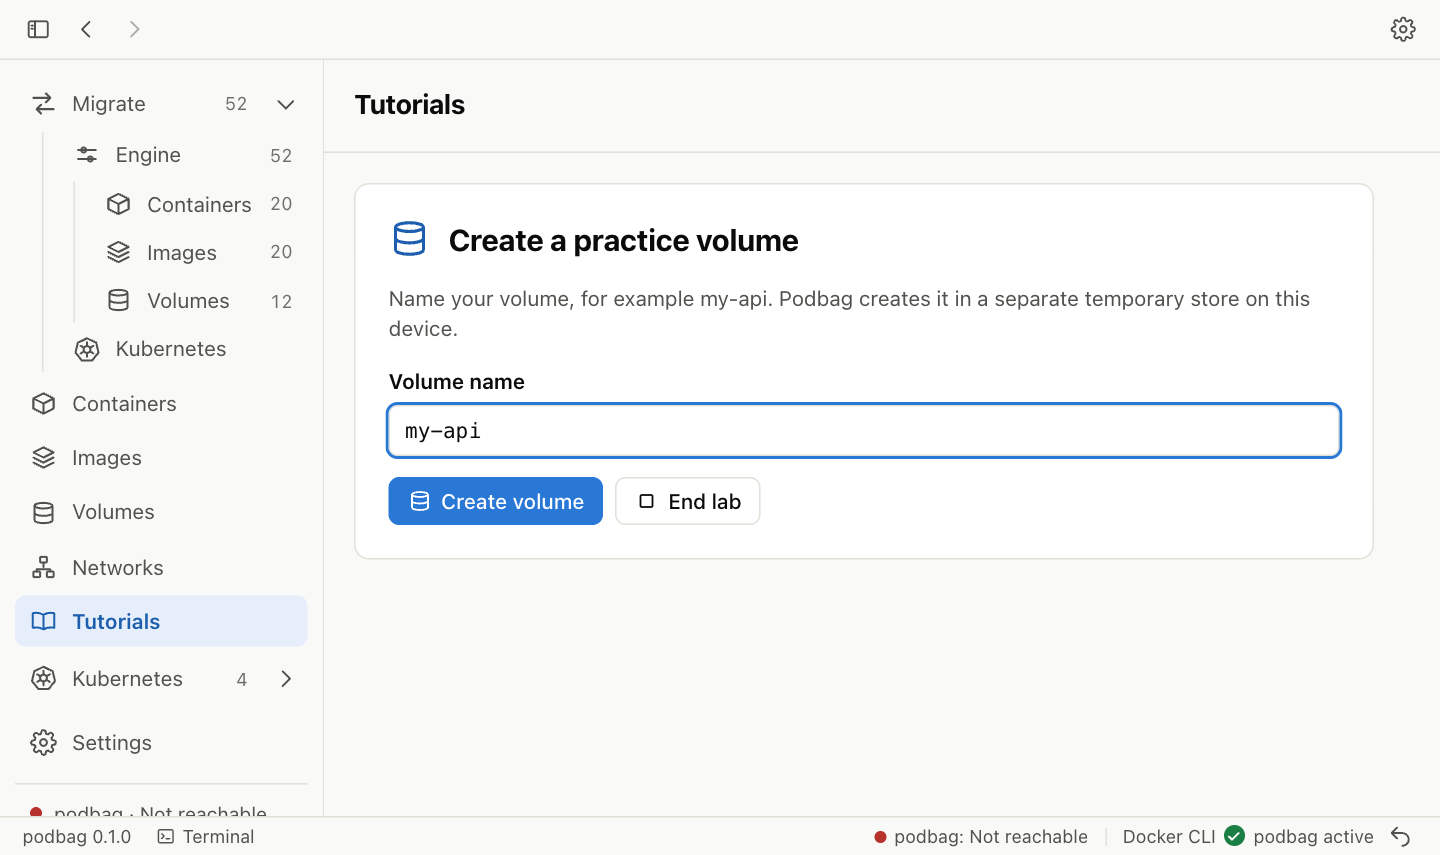
A volume stores files. Enter my-api in Volume name and click Create volume. The next screen shows my-api/response.json. If you used another name, the path starts with that name.
Write your response
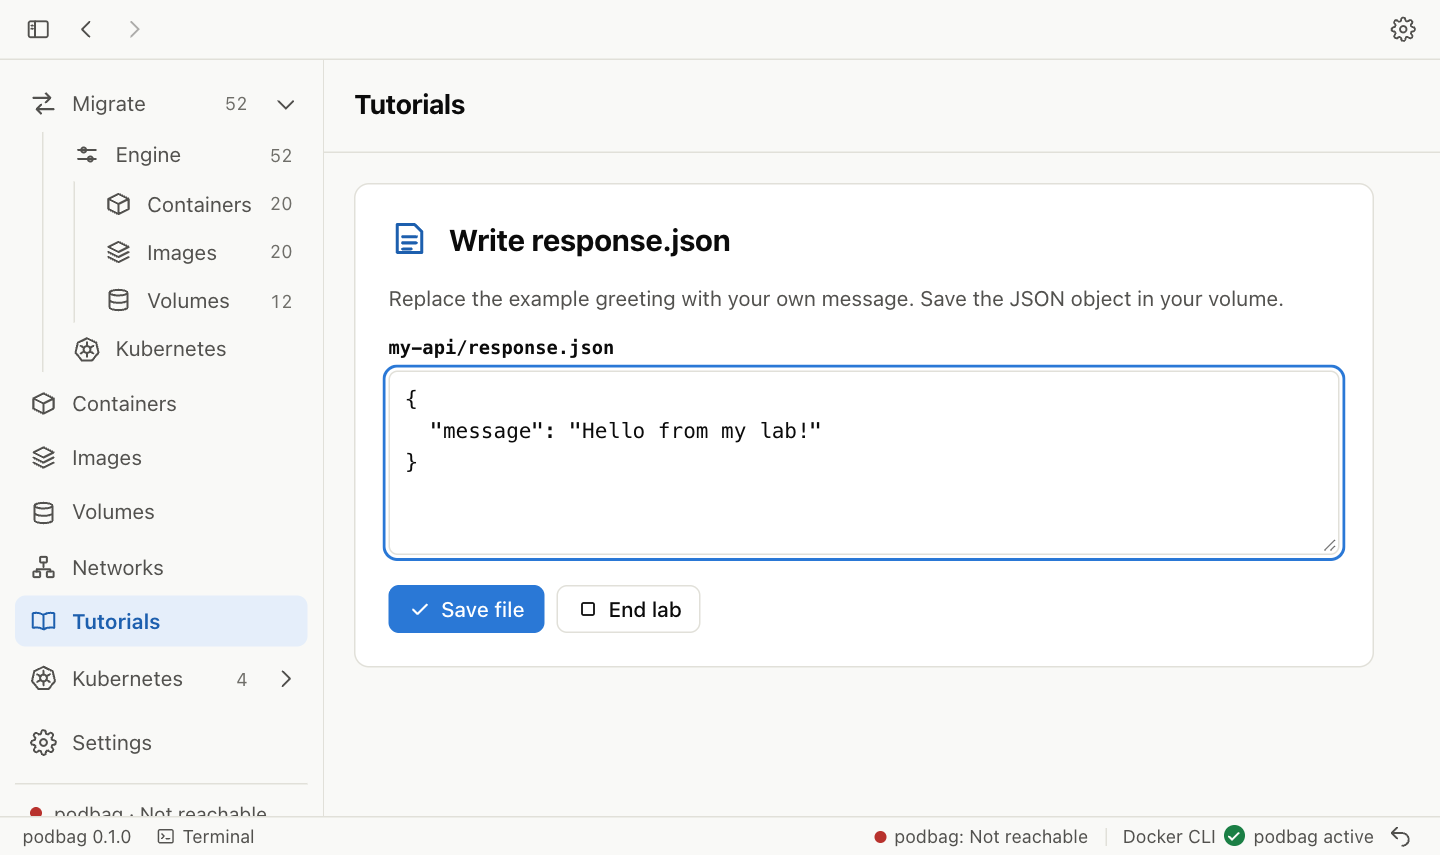
In the editor, replace the value of message with your own greeting. Here we use Hello from my lab!. Keep the double quotes and braces. Click Save file to write it into the volume.
Start the server
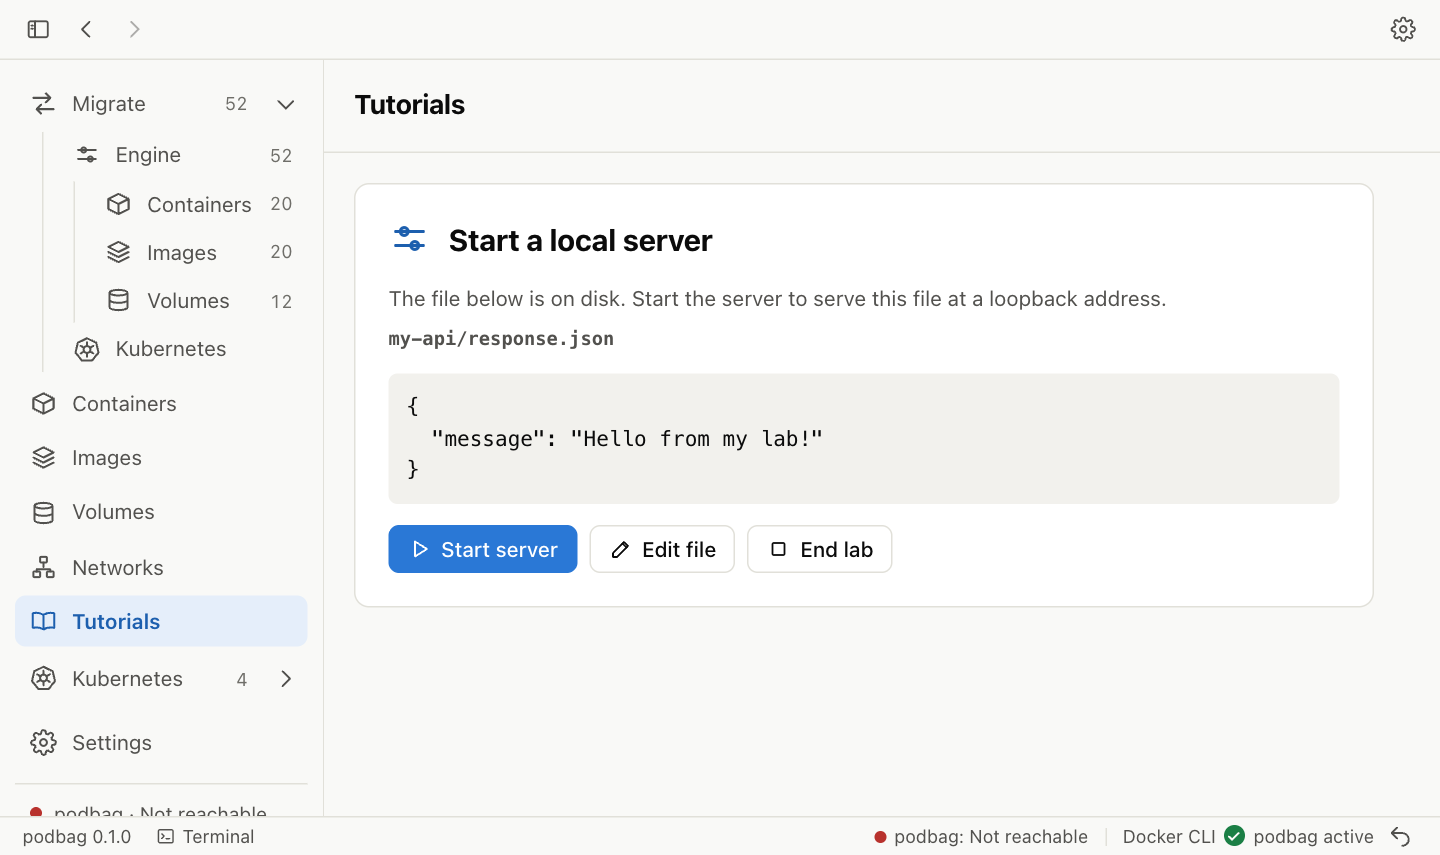
Read back the saved JSON, then click Start server. The app opens an HTTP listener on an available port on 127.0.0.1.
Request the file
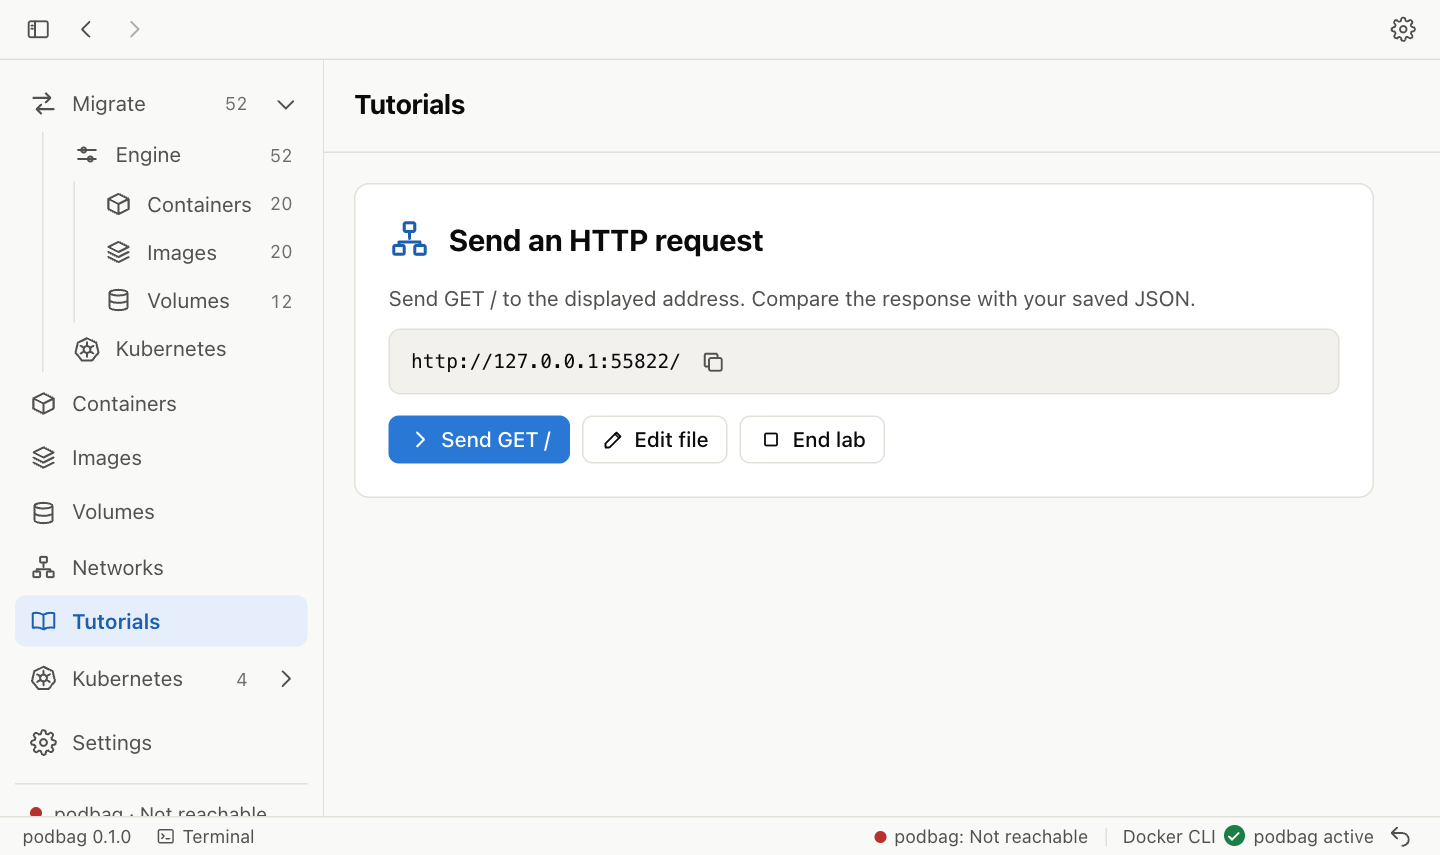
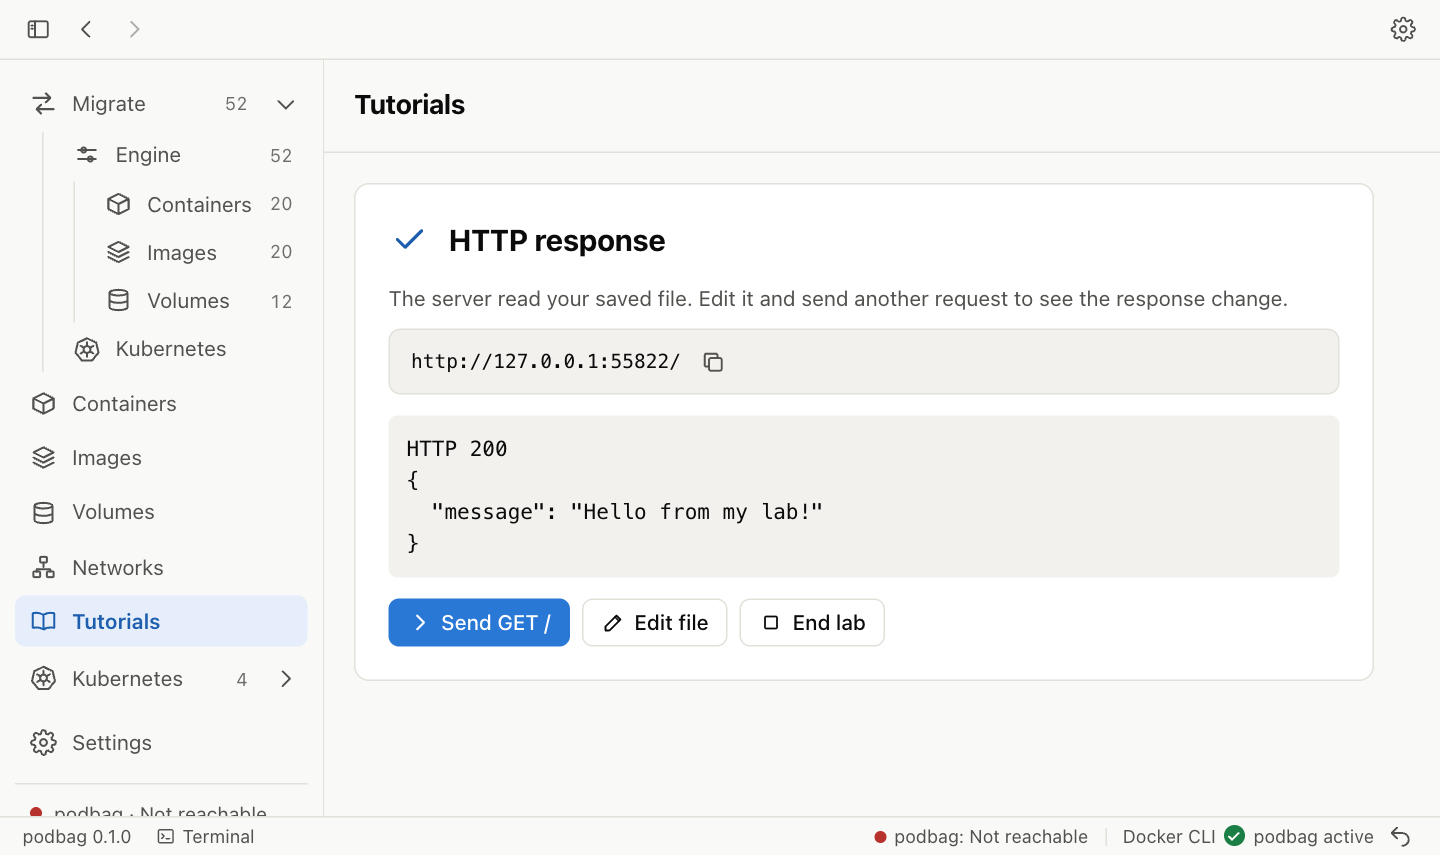
Click Send GET / to request the root path at the displayed address. You can also copy the URL into a browser on this computer. Each session can get a different port.
Check the response and change it
Under HTTP 200, compare the message with what you typed. Click Edit file, change your greeting and save. Send another request to the same URL and look for the new value.
End the lab
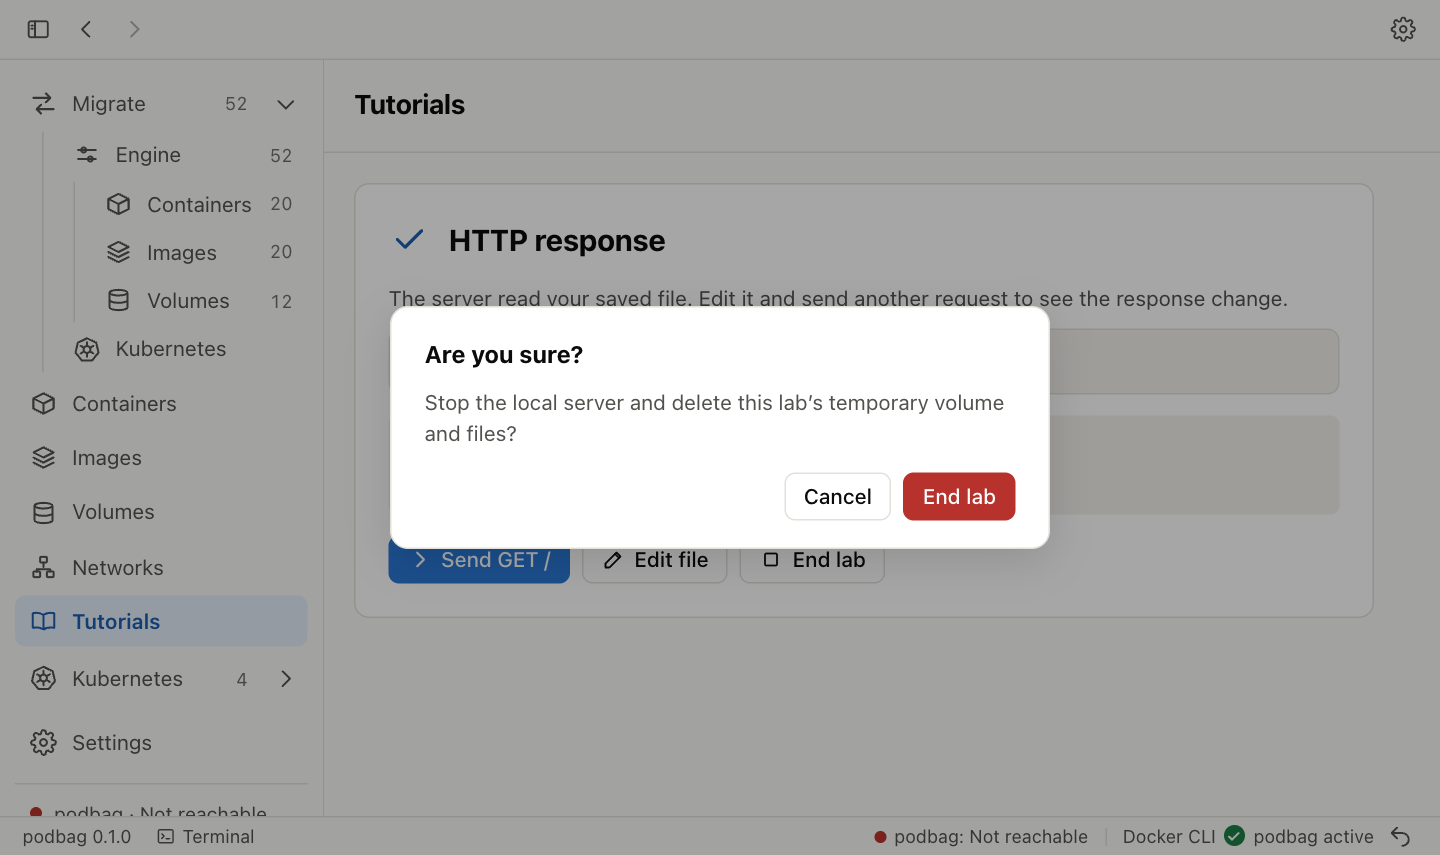
Click End lab, then confirm. This stops the listener and deletes the temporary volume and its files. The module and completion record stay installed. Start another lab to get a fresh workspace.